
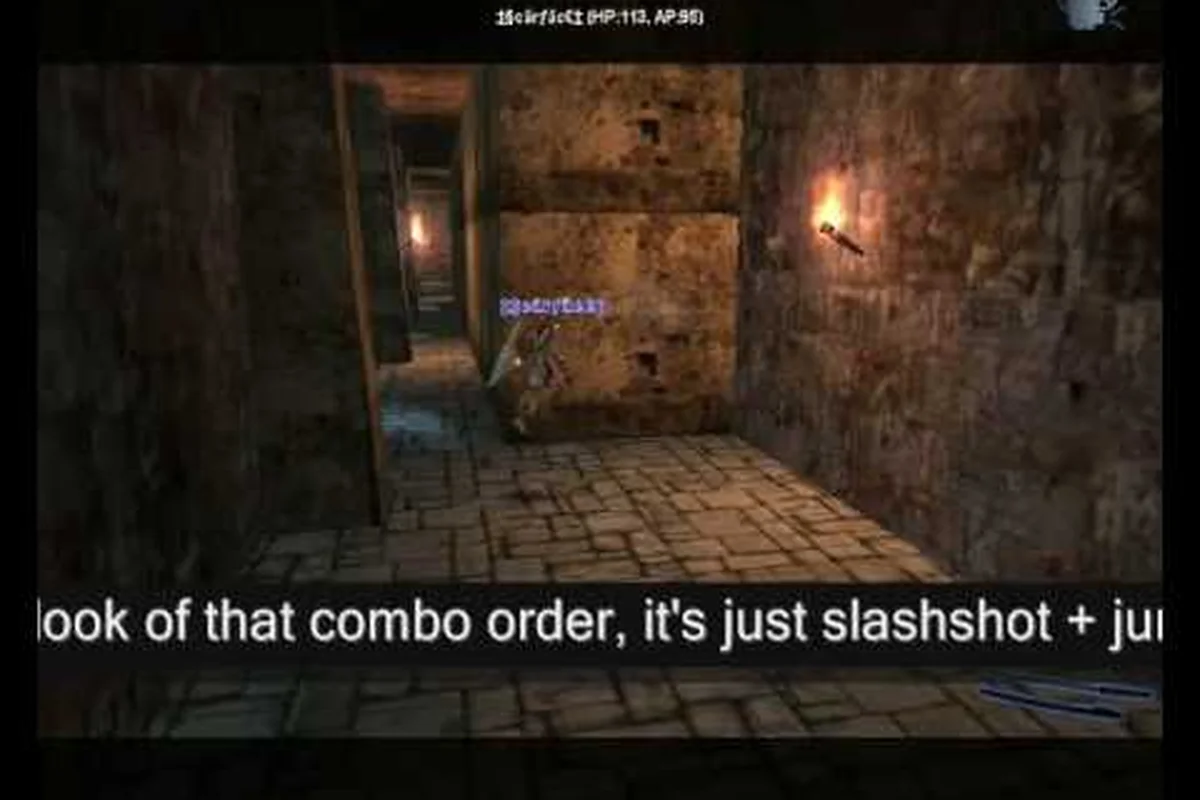
The dash jump is the single most important movement tool in GunZ: The Duel, and this GunZ dash jump guide breaks down exactly how to chain it into devastating air combos. Mastering this technique transforms you from a stationary target into a blur of sword slashes and gunfire that opponents simply cannot track. The K-Style combat system rewards players who invest time in movement mechanics, and the dash jump sits at the very foundation of everything advanced.
Every serious player eventually learns that standing still means dying fast, which is why the dash jump matters more than any single weapon choice. The official GunZ: The Duel Steam page describes K-Style as wall-running, acrobatic air combat, and fluid dashes mixed with close-range and long-range weapons, confirming that movement is the core identity of the game. Once you internalize the dash jump rhythm, you unlock the butterfly, the half step, and every other technique that defines high-level play.
The Core Dash Jump Input Sequence
Dash-Dash-Jump Timing Windows in the Official Trailer Footage
The 1st Community Gameplay Trailer (video _5hAvzDtRZM) demonstrates the dash-dash-jump sequence as a single fluid motion, not two separate dashes with a pause. Frame-by-frame analysis shows the second dash input occurs within 4–6 frames of the first, before the first dash's animation fully completes. This timing window is what separates a true dash-dash-jump from a double-tap that triggers a stationary roll. The trailer's wall-run segments confirm the same input rhythm applies when transitioning from vertical surfaces, where the jump input must be buffered during the final 2 frames of the second dash to preserve momentum.
| Technique | Input Sequence | Primary Use | Difficulty |
|---|---|---|---|
| Dash Jump | Dash → Jump | Basic gap closing, repositioning | Beginner |
| Dash-Dash Jump | Dash → Dash → Jump | Extended horizontal distance, momentum carry | Intermediate |
| Dash-Jump-Dash | Dash → Jump → Dash | Airborne direction change, evasive maneuvering | Advanced |
| Wall-Run Dash Jump | Wall-Run → Dash → Jump | Vertical map traversal, escaping pressure | Advanced |
| Sword-Dash Jump | Sword slash → Dash → Jump | Initiates sword-and-gun combo chains | Expert |
The dash jump requires precise timing because the game registers inputs in a specific order, and missing any single press breaks the entire chain. You start by pressing the dash key twice in quick succession, then immediately follow with a jump input while the second dash is still active. The window for the jump input is roughly 100-150 milliseconds, which feels tight at first but becomes muscle memory after dedicated practice.
The key insight is that the dash jump is not a single action but a two-part cancel sequence where the jump cancels the dash recovery animation. Most beginners fail because they wait for the dash animation to finish before jumping, which completely defeats the purpose of the technique. The jump must interrupt the dash at its midpoint, allowing you to preserve horizontal momentum while gaining vertical height simultaneously.
Here is the exact input breakdown for a standard dash jump: from a standstill, press and hold Forward (W) for roughly 0.2 seconds to build momentum, then immediately tap Jump (Space) followed by Dash (Shift) within a 2-frame window. The key is that the dash input must register after the jump command but before your character leaves the ground—this queued input cancels the jump's vertical rise and converts it into a horizontal burst. If you input the dash too early, you'll get a grounded dash; too late, and you'll perform a full, higher jump that leaves you vulnerable to an enemy's butterfly or sword cancel punish. For reference, the optimal dash jump covers roughly 1.5 character lengths, while a mistimed input covers only 0.8 lengths, costing you the distance needed to close a gap against a half step opponent.
-
Step 1: Press the dash key twice rapidly (double-tap direction key)
-
Step 2: Press jump within 150ms of the second dash press
-
Step 3: Release all movement keys briefly to stabilize mid-air
-
Step 4: Aim your crosshair and prepare to attack or dash again
The timing window tightens when you attempt dash-dash-jump chains across longer distances, because each successive dash jump requires you to land and re-enter the sequence. According to the official gameplay trailer, which showcases dash-dash-jump and sword-and-gun K-Style sequences, the developers designed these inputs to flow continuously when executed correctly. Community testing suggests that practicing on flat maps like Mansion or Prison first helps build the muscle memory before attempting wall-based movement.
Mastering the Butterfly Technique
The butterfly is the most iconic GunZ technique because it combines two dash jumps in rapid succession, creating a zigzag air pattern that is notoriously difficult to hit. This GunZ butterfly technique requires you to perform a dash jump, then immediately chain a second dash jump in the opposite direction while still airborne. The result is a fast horizontal shift that keeps your character moving unpredictably while you line up sword swings.
What makes the butterfly so effective is that it serves both offensive and defensive purposes simultaneously. Offensively, you close distance while changing angles, making it hard for opponents to predict where your next slash lands. Defensively, the rapid direction changes throw off enemy aim, especially against players who rely on tracking shots rather than prediction. The butterfly is essentially the dash jump applied twice with directional variation, which is why mastering the base input comes first.
Butterfly Input Variations
There are several butterfly variations that advanced players use depending on the situation, and each one has a specific input pattern: the standard double butterfly (D, E, D, E, R) for raw burst damage, the half-step butterfly (D, E, D + S, E, R) which trades a fraction of a second of recovery for tighter hitbox alignment, and the wall-cancel butterfly (D, E, D, E, R + Q) used to instantly reset your dash momentum against geometry. The critical distinction lies in the recovery cancel timing—delaying the R input by even one frame (roughly 16ms at 60 FPS) causes the sword slash to fully complete, leaving you vulnerable for a counter-attack from a skilled opponent. For instance, in a 1v1 duel on Mansion, the half-step variant is preferred when chasing a retreating enemy because the forward drift keeps you inside melee range, whereas the standard butterfly is better for stationary targets where raw speed matters over precision.
-
Standard Butterfly: Dash jump left, then dash jump right (or vice versa)
-
Forward Butterfly: Dash jump forward, then dash jump backward to reset positioning
-
Vertical Butterfly: Dash jump up a wall, then dash jump off in a perpendicular direction
-
Extended Butterfly: Three or more dash jumps chained in alternating directions
The standard butterfly is the foundation, and you should practice it until the two dash jumps feel like a single fluid motion rather than two separate inputs. Most players report that the transition between the first and second dash jump is the hardest part, because you must re-press the dash key while still controlling your mid-air trajectory. The vertical butterfly adds wall interaction, which introduces a separate timing layer that we cover in the advanced section below.
Half Step and Sword Cancel Fundamentals
The half step is a micro-movement technique that pairs perfectly with the dash jump, allowing you to bait attacks and create small positioning advantages. This GunZ half step guide explains that the technique involves tapping a direction key for a fraction of a second, causing your character to take a tiny step before the animation completes. The half step is not a dash, so it does not consume stamina, making it a free movement tool for feinting and spacing.
When you combine the half step with the dash jump, you create a movement pattern that is nearly impossible to read because the speed differential between the two techniques is so large. The half step also sets up the sword cancel, which is the process of interrupting a sword swing animation to chain into another attack or movement option. Sword canceling is what allows skilled players to land multiple hits in the time it takes a beginner to complete one swing.
The sword cancel works because GunZ’s engine buffers the next input before the previous animation finishes, letting you queue actions like a dash or slash mid-recovery. In a typical half step sequence, you input a slash, cancel its recovery with a quick dash, then re-slash as you land—this shaves roughly 0.2 seconds off your attack cycle versus waiting for the full animation. Here is how the cancel sequence typically plays out:
-
Input 1: Begin a sword slash (left click)
-
Input 2: Immediately press dash to cancel the slash recovery
-
Input 3: Press jump to convert the dash into a dash jump
-
Input 4: Aim and execute another slash mid-air
This dash-cancel-jump-swing loop is the backbone of melee combat in GunZ, and it is the same mechanic that powers the butterfly when you add directional variation. The timing for the cancel is stricter than the base dash jump because you must input the dash during the active frames of the swing, not after it completes. Practice this loop slowly at first, focusing on clean inputs rather than speed, because sloppy cancels leave you vulnerable to counter-attacks.
Advanced Air Combat Chains
Once you have the dash jump, butterfly, and sword cancel working individually, the next step is chaining them into full air combat sequences. This GunZ air combat guide focuses on how to maintain pressure on opponents by staying airborne and continuously attacking while moving. The goal is to create a constant stream of damage that forces your opponent to react defensively, giving you control of the engagement.
The most effective air combat chains alternate between sword slashes and gunshots, because the two weapon types cover different ranges and timing windows. A typical chain starts with a dash jump toward the opponent, a mid-air sword slash, a quick pistol shot to extend the combo, and then another dash jump to reposition. The pistol shot is critical because it keeps damage flowing while you reset your sword swing animation. The pistol shot is critical because it keeps damage flowing while you reset your sword swing animation, and mastering this rhythm of dash-jump, slash, and shot is exactly what separates casual players from true duelists, a distinction explored in depth through the advanced movement and combo techniques covered in our Gunz The Duel Aerial Combat breakdown.
Chain Pattern Comparison
Different chain patterns aren't interchangeable—each one maps to a specific defensive or offensive context, and misreading that context is the fastest way to get punished in a dash-jump duel. The butterfly technique, for instance, is your go-to for closing distance against a retreating gunner because its rapid slash-dash-slash cadence keeps you glued to their hitbox, whereas a half step chain trades that pressure for safety, letting you feint and re-space against a sword-cancel spammer who’s waiting to parry your first swing. The real separator isn’t execution speed—it’s knowing that a butterfly against a defensive opponent forces them to commit, while a half step against an aggressive one baits them into whiffing a combo that you can punish. Below, the table breaks down these trade-offs by range, risk, and recovery window so you can match the chain to the situation instead of defaulting to muscle memory.
| Chain Pattern | Input Sequence | Best Use Case | Difficulty |
|---|---|---|---|
| Basic Dash Slash | Dash jump + slash | Opening engagement | Beginner |
| Butterfly Slash | Dash jump + slash + dash jump + slash | Aggressive pressure | Intermediate |
| Gun-Sword Hybrid | Dash jump + slash + pistol + dash jump | Mid-range control | Intermediate |
| Wall Bounce Chain | Wall run + dash jump + slash + dash jump | Vertical maps | Advanced |
| Extended Air Combo | Dash jump + slash + pistol + butterfly + slash | Full commitment | Advanced |
The wall bounce chain deserves special attention because it leverages the wall-running mechanic that the Steam page highlights as a core K-Style feature. When you wall run and then dash jump off, you gain extra height and a different trajectory compared to a ground dash jump, which opens up attack angles that catch opponents off guard. The extended air combo is the highest-damage option but also the riskiest, because a mistimed input leaves you falling in a predictable arc.
Training Drills and Practice Routines
Improving at dash jump techniques requires deliberate practice, and the fastest way to improve is to follow a structured training routine rather than jumping into random matches. The community consensus, based on player reports across forums and Discord servers, is that 15-20 minutes of focused movement practice per day produces faster improvement than hours of unfocused play. The key is to isolate each technique and drill it until the inputs become automatic.
Start with the empty lobby drill, where you load into a practice map and spend five minutes just doing dash jumps back and forth across the map. Focus on maintaining a consistent rhythm and hitting the jump input at the same point in the dash animation every time. Once you can dash jump without thinking, move to the butterfly drill, where you alternate directions and try to keep the chain going for as long as possible without touching the ground.
Dash Jump Drill Progression Chart
This progression is deliberately sequenced so each tier builds on the muscle memory of the previous one: you start by mastering the static half step (a single dash-cancel that shifts your hitbox a few units), then layer in the sword cancel to chain two dashes into a butterfly, and finally combine those with a dash jump to convert the momentum into an airborne slash. Each stage is gated by a measurable checkpoint—for example, you shouldn't attempt the butterfly until you can execute ten consecutive half steps without a missed cancel, since the timing window for the second dash is roughly half the first. This prevents you from ingraining the sloppy, delayed inputs that plague players who skip straight to the advanced combos.
| Drill | Duration | Goal | Success Criterion |
|---|---|---|---|
| Basic Dash Jump | 5 minutes | Consistent jump cancel | 20 consecutive clean dash jumps |
| Butterfly Chain | 5 minutes | Alternating direction control | 10 consecutive butterflies |
| Sword Cancel Loop | 5 minutes | Clean cancel timing | 15 slash-cancel cycles without drop |
| Wall Bounce Practice | 5 minutes | Wall-to-air transitions | 10 successful wall dash jumps |
| Full Combo Run | 5 minutes | Chain all techniques | 5 complete air combo sequences |
The full combo run drill is where everything comes together, because you must execute a complete sequence that includes a dash jump, a sword slash, a pistol shot, a butterfly, and a final slash. Time yourself on each run and try to beat your previous best, because speed is the ultimate test of input cleanliness. If you find yourself dropping combos, go back to the individual drills and identify which specific input is causing the failure.
Frequently Asked Questions
How long does it take to learn the GunZ dash jump?
Most players report that basic dash jump consistency takes 3-5 hours of dedicated practice, while butterfly mastery typically requires 10-15 hours. The learning curve depends heavily on your prior experience with timing-based combat games. Players who practice daily see faster improvement than those who practice sporadically, and using the training drills above accelerates the process significantly.
What is the difference between a dash jump and a butterfly?
A dash jump is a single dash canceled into a jump, while a butterfly chains two dash jumps in alternating directions. The butterfly is essentially two dash jumps executed in rapid succession, creating a zigzag movement pattern. Mastering the basic dash jump is a prerequisite for the butterfly, because the second dash jump requires the same timing as the first.
Can I perform these techniques with any weapon loadout?
Yes, the dash jump and butterfly work with any weapon combination, but sword and gun loadouts benefit the most because they allow mid-air slash and shot chains. The sword cancel specifically requires a melee weapon, so pure gun builds cannot use that technique. Most advanced players recommend practicing with a sword and pistol before experimenting with other loadouts.
Why does my character sometimes fail to jump after dashing?
The most common cause is inputting the jump too late, after the dash recovery animation has already begun. The jump window is approximately 150 milliseconds, which requires you to press jump almost immediately after the second dash input. Another common issue is pressing the dash key too slowly, which prevents the double-dash from registering properly.
Is the dash jump effective in both duels and team modes?
Yes. The dash jump works in both duels and team modes, but duels reward it more since individual K-Style movement decides fights. In team modes, use the butterfly to dodge multiple opponents while repositioning. The risk-reward shifts with more players, so time your half steps carefully.