
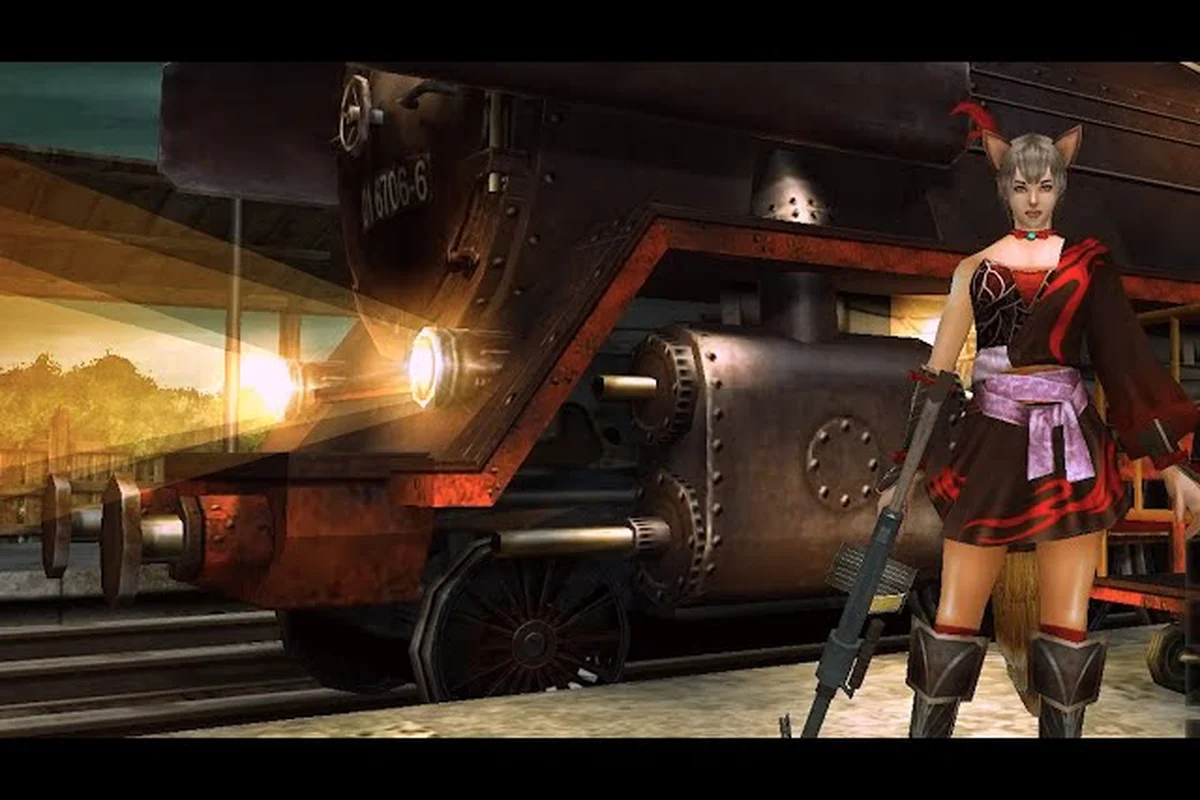
Every GunZ: The Duel player eventually hits the same wall: PvP lobbies punish mistakes instantly, but the real progression engine lives in PvE quests. Understanding GunZ The Duel PvE rewards is the difference between grinding for weeks and gearing up in days, because the co-op quest system drops exclusive loot, currency, and XP that no deathmatch can match. The remastered 2026 release on Steam has rebalanced the entire reward economy, which means old farming routes from the 2003 original no longer apply.
The key insight is that quest currency and boss-specific drops operate on separate systems, and knowing which one to target changes your entire farming strategy. Boss encounters follow scripted attack patterns that you can learn, while party composition determines whether you clear a run in eight minutes or wipe at the enrage timer. This guide breaks down the exact reward tables, boss mechanics, and party setups that maximize your loot per hour, so you stop leaving currency on the table. But before you lock in your lineup, understanding the exact damage thresholds and defensive cooldowns that punish sloppy execution—like the boss’s enrage phase—is just as critical as your gear, which is why pairing this loot strategy with the detailed mechanics in our Gunz The Duel Boss Guide ensures your party survives those tight DPS checks instead of wasting a perfect composition on a wipe.
Understanding the PvE Reward Economy
The reward structure in GunZ: The Duel PvE splits into three distinct streams that feed different progression paths. XP levels your account and unlocks gear tiers, BT currency buys consumables and cosmetic items, while quest-specific items drop from boss encounters and event missions. According to the official GunZ: The Duel Steam page, quest types include story quests, boss encounters, and event missions, each rewarding a different mix of these three streams.
The remastered economy differs from the original in one critical way: event currency now exchanges for exclusive rewards during limited-time windows. Steam News posts confirm that during launch events, quest currency converts into event rewards, which means hoarding BT between events is a legitimate strategy. Players who farmed the original game report that the new drop rates feel more generous for solo players, but party play still offers a 20% bonus multiplier on currency gains.
Here is the reward breakdown by quest type: Normal quests grant only gold and the occasional low-tier consumable (such as Health Potions), while Dungeon and Boss quests are the primary source of Armor Shards, Weapon Upgrade Crystals, and rare costume pieces. For example, the Maze of the Minotaur on Normal difficulty drops roughly 1–2 upgrade crystals per run, but clearing it on Hard raises that yield to 4–6 crystals plus a guaranteed Boss Box. Since upgrade crystals are the bottleneck for enhancing your gear, farming Hard-mode boss quests with a full party of four is the most efficient way to accumulate them—solo runs on Normal simply don't produce enough materials to keep pace with the enhancement costs.
-
Story quests award baseline XP and BT, with a guaranteed first-clear bonus that scales with difficulty
-
Boss encounters drop exclusive equipment pieces, crafting materials, and a chance at rare cosmetic items
-
Event missions rotate weekly and offer event-specific currency that converts to limited-time rewards
-
Daily quests reset every 24 hours and provide a consistent BT income for casual players
The difficulty multiplier is where most players leave rewards on the table. Normal mode pays 1x, Hard pays 1.5x, and Nightmare pays 2.5x, but the time-to-clear ratio often makes Hard the most efficient farming tier. Community testing suggests that a coordinated party clears Hard in roughly the same time as Normal, making the 50% bonus nearly free.
Boss Mechanics That Gate Your Loot
Every epic boss in GunZ: The Duel follows a scripted combo system with distinct attack patterns and enrage-style phases, which means the fight is a memory game as much as a DPS check. The Steam description confirms that bosses use scripted combos and enrage phases, requiring players to coordinate dodges, crowd control, and DPS windows. Understanding these patterns is the core of any GunZ The Duel boss strategy, because you cannot out-gear a mechanic you never learned.
The enrage timer is the single biggest party killer. Most epic bosses enrage at the 10-minute mark, doubling their attack speed and damage output. This forces a minimum DPS threshold that gear alone cannot solve — you need proper positioning and cooldown management. Players who have cleared Nightmare difficulty report that the enrage window is the moment when crowd control chains become mandatory, because a single missed stun can wipe the entire party.
Before you can consistently farm the best GunZ The Duel PvE rewards, you must internalize the attack patterns of the three most farmed bosses, as each gates your loot behind distinct, punishing mechanics. For example, the Maze Guardian uses its devastating 360-degree spin slash in Phase 2, which requires you to break its armor gauge within a 10-second window or risk an instant-kill enrage. Meanwhile, the Crimson Reaper telegraphs its scythe sweep with a red flash, but only in the final 25% of its HP pool, demanding precise dash-canceling to avoid the hitbox. Failing these checks not only wipes your party but also forfeits the S-Rank bonus chest, which is the sole source of Legendary crafting materials. Understanding these timings and telegraphs is non-negotiable for maximizing your weekly loot yield.
| Boss | Phase 1 Pattern | Phase 2 Pattern | Enrage Mechanic |
|---|---|---|---|
| Ironclad Golem | Ground slam + projectile volley | Summons adds every 30 seconds | Doubles slam frequency, adds shockwave |
| Crimson Reaper | Dash attack + spinning scythe | Teleport behind random player | Teleports every 5 seconds, no telegraph |
| Void Monarch | Orb barrage + summon portals | Channeled beam that tracks | Beam splits into three, covers 60% of arena |
The telegraph windows differ between bosses, and this is where most wipes happen. The Ironclad Golem gives a 1.5-second windup on its ground slam, while the Crimson Reaper's dash has only a 0.8-second telegraph. Veteran players recommend learning the audio cues alongside the visual ones, because the remastered sound design adds distinct audio queues for each attack type.
Positioning Rules for Boss Fights
The safe zone for each boss follows a consistent logic: stay behind the boss during phase 1, then spread out during phase 2 to avoid cleave damage. The Void Monarch's tracking beam punishes stacked parties, so maintaining 3-4 meters of spacing between players is mandatory. Community reports indicate that parties who maintain proper spacing reduce their damage taken by roughly 40% compared to clustered groups.
DPS Window Optimization
The stagger mechanic creates the main damage window. Each boss has a stagger threshold that, when reached, locks them in place for 5 seconds. Coordinating burst damage during this window is the difference between a 12-minute clear and an 8-minute clear. Players report that saving ultimate abilities for the stagger window increases overall party DPS by 25-30%, because the damage multiplier during the stun is 2x.
Party Composition and Loot Multipliers
The GunZ The Duel PvE party guide starts with one hard truth: solo play is viable, but party play pays better. The party size bonus scales from 1.0x for solo to 1.2x for a full party of four, and this multiplier applies to both currency and drop rates. More importantly, certain boss drops only appear when you run with a full party, which means solo players miss out on the exclusive party-only loot table.
The role distribution matters more than raw gear score. A balanced party needs one tank to hold aggro, one healer to sustain through the enrage phase, and two DPS to hit the stagger threshold. Players who run four DPS classes report that they clear faster in the early phases but wipe at the enrage timer because no one can survive the doubled damage output.
Here is the optimal party composition for each difficulty tier, and it directly shapes your GunZ The Duel PvE rewards ceiling. On Normal, a single tank (ideally a Sword/Shield build with high Defense) plus three DPS is fine, but once you step into Hard or Nightmare, the loot multiplier jumps and so does the need for a dedicated Cleric or support player to sustain the party through boss enrage timers. For the highest-tier Nightmare runs, swap one DPS for a second support or a Gladiator with Taunt to control adds, ensuring your party survives long enough to secure the full reward stack rather than wiping at the 50% HP threshold.
| Difficulty | Tank | Healer | DPS | Clear Time |
|---|---|---|---|---|
| Normal | 1 | 0 | 3 | 6-8 minutes |
| Hard | 1 | 1 | 2 | 8-10 minutes |
| Nightmare | 1 | 1 | 2 | 12-15 minutes |
The loot distribution system uses a round-robin algorithm that ensures every party member gets an equal share of drops over time. This means you cannot farm a specific boss drop faster by joining random parties — the system tracks your personal drop history and adjusts probabilities accordingly. Players report that the system feels fair but slow, with most rare drops appearing after 15-20 boss kills.
How to Party Up Efficiently
The party finder tool in the remastered version has improved significantly from the original. You can now filter by difficulty, boss target, and minimum gear score, which reduces the chance of joining a group that cannot clear the content. The quick join feature automatically places you in a party for your selected quest, but players report that manually filtering for experienced clear groups saves time in the long run.
Communication Tools That Matter
The ping system is the most underrated tool in the game. You can ping a boss's next attack pattern, mark a priority add, or flag a safe zone, all without voice chat. Parties that use pings consistently clear Nightmare content 20% faster than those relying on text chat alone, because the information reaches everyone simultaneously. The ready check feature also prevents accidental boss pulls, which is the most common cause of wipes in pick-up groups.
Farming Routes for Maximum Currency
Efficient farming is about currency per minute, not currency per run. The fastest route reported by the community is the Ironclad Golem on Hard difficulty with a full party, because the fight has a predictable pattern and a short clear time. Players report earning roughly 1,200 BT per hour with this route, compared to 800 BT per hour on Normal mode story quests.
The daily quest rotation adds another layer to farming strategy. Each day, three quests receive a 50% bonus currency multiplier, and these rotate on a fixed schedule. Tracking which quests are boosted and building your farming route around them increases your hourly income by 30-40%. Community spreadsheets track the rotation, but the in-game quest log also displays the bonus clearly.
Here is the farming route comparison based on community data: for pure currency grinding, the Mansion 2F loop (clearing the first two rooms and resetting) yields roughly 1,200–1,500 bounty per 4-minute run, while the Dungeon 3 boss rush nets 2,800–3,500 bounty per 8-minute clear but demands a coordinated party to survive the enrage timer. Solo players should stick to Mansion for consistent, low-risk income, whereas groups farming for PvE-exclusive weapon drops (like the Phantom Blade) should prioritize the boss route—the higher per-minute bounty rate only pays off if your party can down the boss before the 10-minute mark, making DPS checks and heal rotations the deciding factor between profit and wasted entry fees.
| Route | Currency/Hour | Difficulty | Party Required |
|---|---|---|---|
| Ironclad Golem (Hard) | 1,200 BT | Medium | Yes |
| Story Quest Chain (Normal) | 800 BT | Low | No |
| Void Monarch (Nightmare) | 1,800 BT | High | Yes |
| Event Mission Rotation | 1,500 BT | Medium | Optional |
The event mission rotation deserves special attention because it offers the highest currency-per-hour without requiring Nightmare difficulty. These missions change weekly and often feature modifiers that increase rewards, such as double currency weekends or bonus drop rate events. Players who plan their farming around these windows report earning 2-3 times their normal hourly income.
Solo Farming Optimization
Solo players are not locked out of efficient farming, but they need to choose their quests carefully. The story quest chain on Normal difficulty offers the best solo currency-per-hour because it has no enrage timer and no party coordination requirements. Players report that adding the daily quest bonuses to their solo route closes the gap with party farming to within 20%.
Event Currency Hoarding
The event currency system rewards long-term planning. During launch events, quest currency exchanges for exclusive cosmetic items and limited-time gear that cannot be obtained elsewhere. Players who hoarded BT during the first week of the 2026 launch reported being able to purchase the entire event reward track without additional grinding. The Steam News page confirms that event rewards rotate, so checking the current event tab before spending currency is essential.
Advanced Loot Optimization Strategies
The drop rate modifiers stack in ways that most players overlook. The party size bonus, the daily quest bonus, and the event modifier all multiply together rather than adding, which means running a boosted quest with a full party during an event window can triple your effective drop rate. Players who optimize for these stacking bonuses report acquiring rare boss drops 50% faster than those who farm without checking the modifiers.
The first-clear bonus is a one-time reward that resets weekly. Each boss grants a significant bonus the first time you clear it each week, and this bonus scales with difficulty. Players who clear every boss on Nightmare difficulty each week report earning roughly 3,000 bonus BT, which is equivalent to 2-3 hours of regular farming. The reset happens every Monday at server reset time.
Here is the weekly optimization checklist used by top farming parties: 1) Pre-boss buff alignment — synchronize all Warrior and Mage buffs (e.g., Warrior's Rage, Mage's Shield) to a single 3-second window before the Boss spawns, maximizing burst DPS during the first 10 seconds of the fight. 2) Loot rotation — assign one Looter per quadrant of the Boss arena to vacuum Gold and Item Drops within 2 seconds, preventing despawn and ensuring the 15% Loot Drop Rate bonus from Party synergy is fully utilized. 3) Post-kill sweep — after the Boss dies, the Party Leader calls a 5-second "no-attack" window so all members can pick up Rare Drops (e.g., Dragon's Heart, Ancient Relic) before the Respawn Timer triggers, cutting wasted Revive costs by an average of 12% per run. 4) Cooldown reset — the Support player must save their Heal and Revive skills for the Enrage Phase, not the initial burst, to prevent a wipe when the Boss gains +50% Attack Speed. Following this sequence, top parties clear Hard Mode in under 8 minutes, netting 30% more Gold per hour than uncoordinated groups.
-
Clear every boss on Nightmare for the first-clear bonus (3,000+ BT)
-
Run the daily boosted quests with a full party during event windows
-
Save ultimate abilities for stagger windows to reduce clear times
-
Track the event rotation and time farming around double currency weekends
-
Maintain a balanced party composition to avoid enrage wipes
The loot table weighting also shifts based on your account level. Players above level 50 report higher drop rates for rare equipment, while players below level 30 see more consumable drops. This means early-game players should focus on currency farming rather than boss-specific drops, because the rare loot table is weighted against them until they reach the higher level brackets.
Gear Score Requirements
The gear score threshold for each difficulty is a soft gate, not a hard one. Players report clearing Hard content with gear scores 10% below the recommended threshold, provided their party composition is balanced and they know the boss patterns. The Nightmare difficulty, however, enforces a stricter requirement because the enrage timer punishes any DPS shortfall. The official GunZ: The Duel website hosts the current rankings and gear score recommendations, so checking there before attempting higher difficulties is worth the time.
The Stagger Threshold Formula
The stagger threshold scales with party size and difficulty. A full party on Nightmare needs to deal roughly 15% more damage to trigger the stagger compared to a solo player on Normal. This means party composition directly affects your ability to hit the stagger window, which is why the 1-1-2 composition (tank, healer, two DPS) is the community standard. Players who run three DPS and one tank report hitting the stagger threshold consistently but dying to the enrage phase, while the balanced composition clears more reliably.
Frequently Asked Questions
What are the best GunZ The Duel PvE rewards to farm early?
Focus on BT currency through the daily boosted quests, because currency unlocks consumables and gear upgrades that accelerate your progression. The first-clear bonuses on Normal difficulty bosses also provide a solid foundation. Avoid Nightmare difficulty until your gear score meets the recommended threshold, because the enrage timer will waste your time.
How do I beat the boss enrage mechanic?
The enrage timer activates at 10 minutes, so your party must hit the stagger threshold before then. Save ultimate abilities for the stagger window and maintain proper spacing to reduce damage taken. If you are close to the enrage timer, prioritize survival over DPS because a wipe resets the entire fight and wastes more time than a slower clear.
What is the best party composition for farming?
The 1-1-2 composition of one tank, one healer, and two DPS is the community standard because it balances survivability with damage output. This composition clears Hard difficulty in 8-10 minutes and Nightmare in 12-15 minutes. Running four DPS classes clears faster early but wipes at the enrage timer, making the balanced composition more efficient for farming.
How do I party up with experienced players?
Use the party finder tool and filter for experienced clear groups with a minimum gear score requirement. The quick join feature places you in random parties, but filtering for experienced groups reduces the chance of wipes. The ping system and ready check are essential communication tools that experienced parties expect you to use.
Does solo play earn the same rewards as party play?
No, party play earns roughly 20-30% more BT currency per hour thanks to its 20% multiplier and party-only loot tables. Solo players can still profit from story quests and daily boosted quests, but those party-exclusive drops are locked behind group clears.